Emergency Preparedness
The $50 Starter Prep: How to Begin Preparedness on a Budget
One of the biggest myths about preparedness is that it costs thousands of dollars to get started. That’s simply not true. While it is true that preparedness does take some money, you can get started and keep consistent with as much, or as little, as you have available. The point is to make it work for YOU and YOUR budget.
In fact, with just $50, you can begin building a solid foundation that will give you peace of mind during everyday emergencies like power outages, storms, or job loss.
This guide will show you how to spend $50 wisely to cover the most important basics: water, food, light, first aid, and communication.
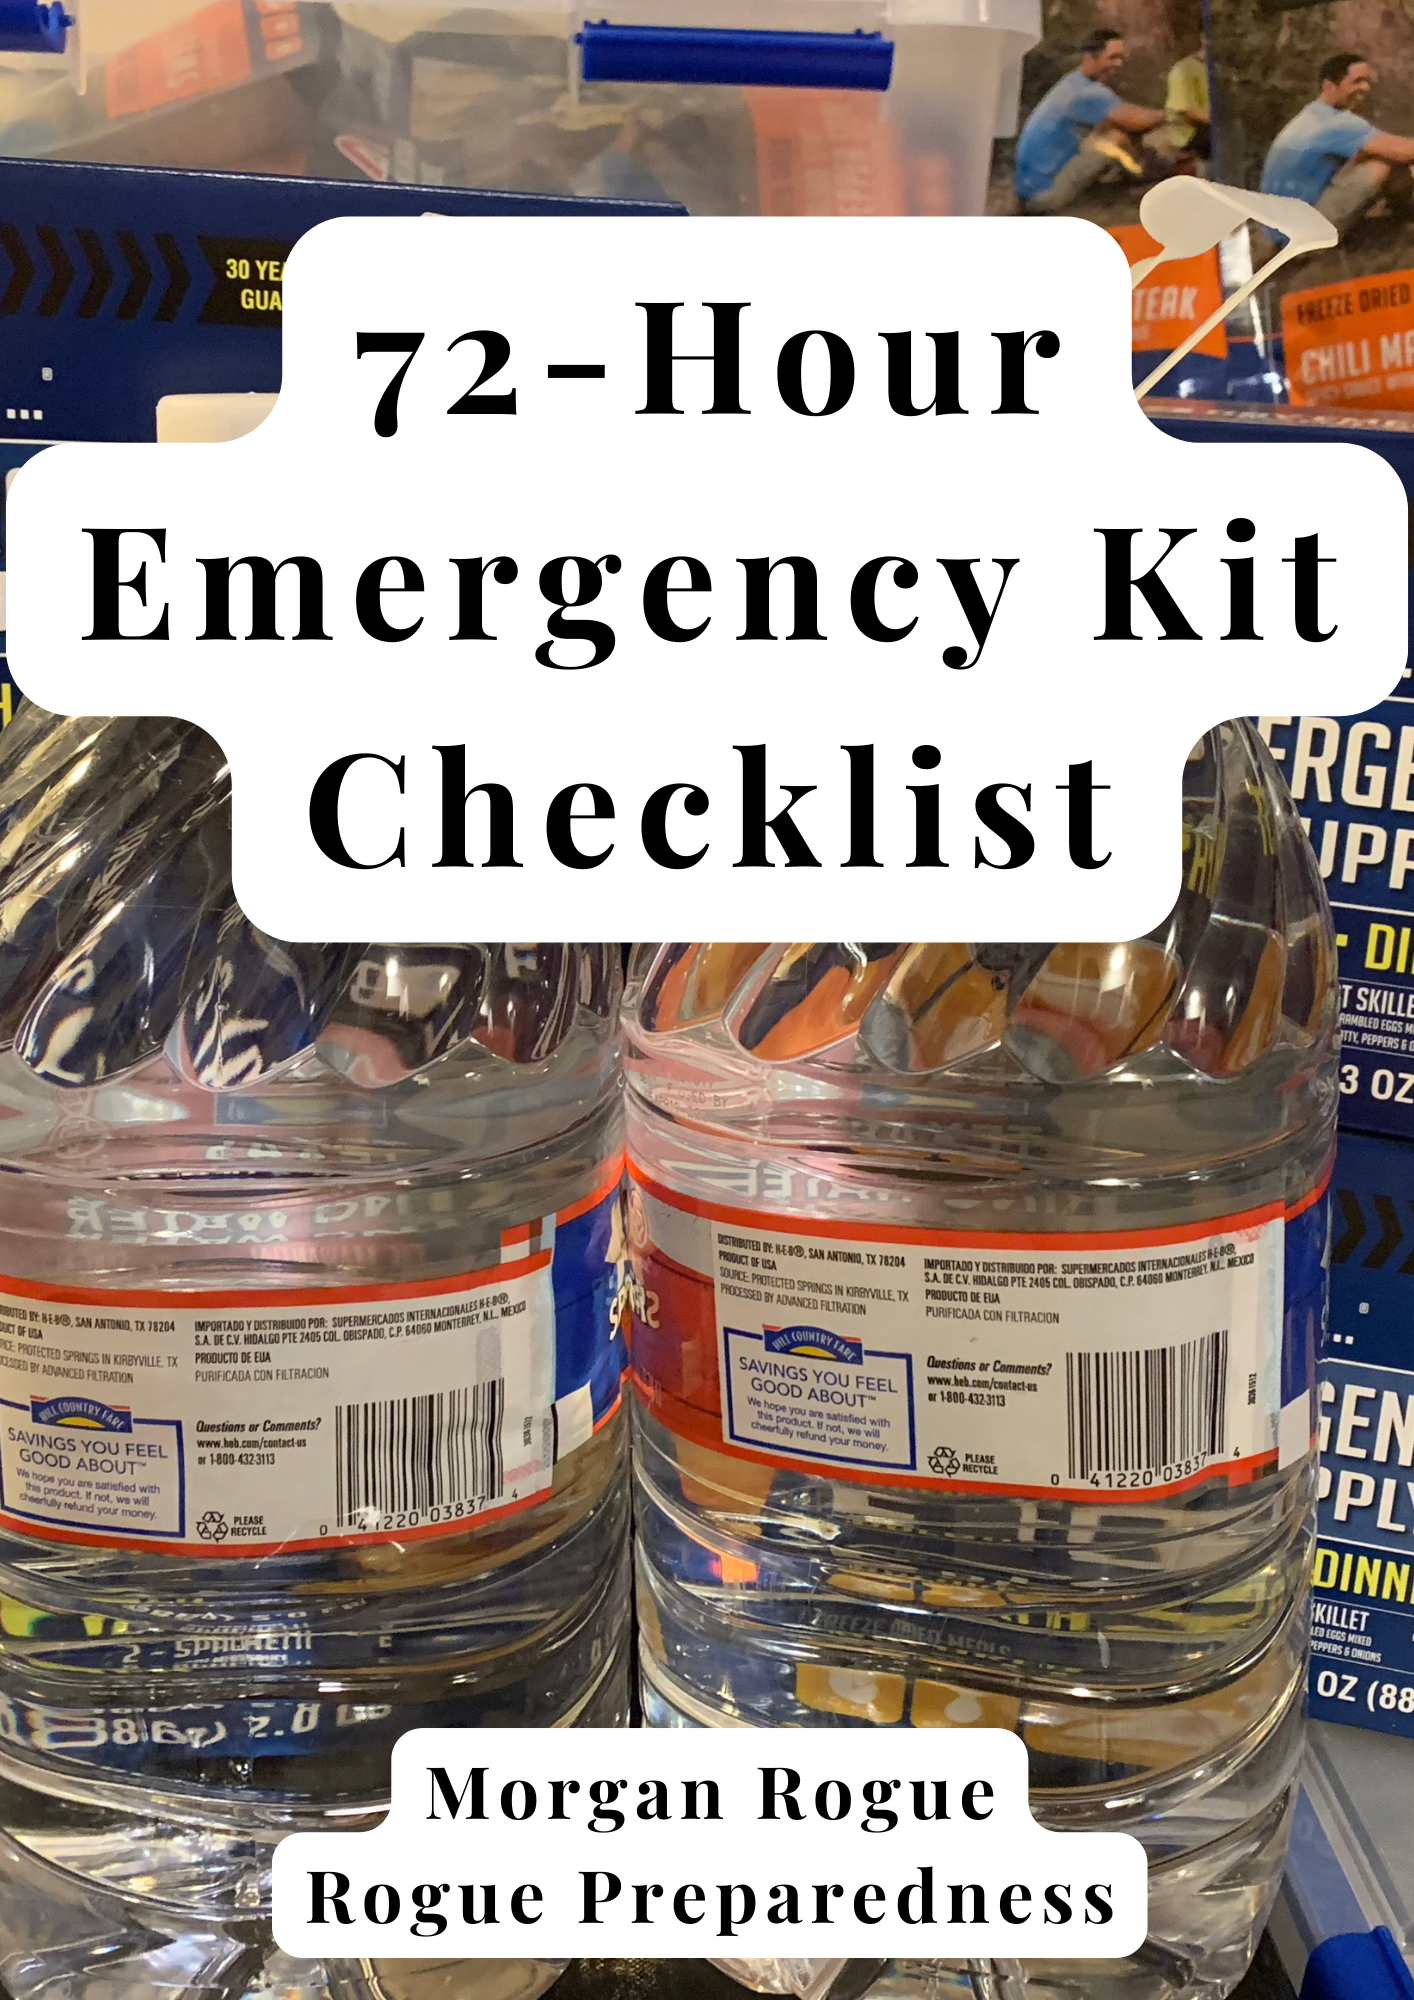
Step 1: Water ($10–15)
Water is your #1 priority. You can survive weeks without food, but only days without water.
- Buy one or two cases of bottled water (about $5–$10).
- Look into a Berkey gravity fed filter, or something similar, usually around $100. Make a note of this and figure out how you can save up for it.
Goal: At least 6 gallons of water stored (2 gallon per person per day).

Step 2: Food ($15–20)
Next, stock up on foods your family already eats. Focus on shelf-stable, calorie-dense items. The following are just ideas:
- Rice or pasta (large bag: $5–$8).
- Canned protein (tuna, chicken, beans: $6–$10).
- Peanut butter or oats ($4–$6).
Goal: 3 days of easy-to-prepare meals.
Step 3: Light & Power ($5–10)
Darkness is stressful during an emergency. A little light makes a big difference.
- Flashlight/Headlamp ($5–$10) — dollar store, Walmart, Amazon or discount retailers often have them.
- Batteries ($2–$5).
- Optional: Solar garden lights (great backup lighting, $1 each at dollar stores).
Goal: Enough light to navigate your home safely in a power outage.

Step 4: First Aid Basics ($5–10)
A basic kit doesn’t have to be fancy.
- Bandages, gauze, antiseptic wipes ($5–$8).
- Pick up a dollar store first aid kit and supplement with what you already have at home. Dollar store also has a lot of great medical supplies in general.
Goal: Handle small cuts, scrapes, or minor injuries.
Step 5: Communication & Info ($0–5)
You don’t need a $100 emergency radio right away — start simple.
- Download a free weather app on your phone, or get a free paper map.
- Pick up a basic whistle ($1–$2) for signaling when in danger.
- Print emergency contacts and emergency documents and keep them in a water resistant bag.
- You can also start printing all your favorite recipes, how-tos, etc.
Goal: Stay informed and connected.

How to Stretch Your $50 Further
- Shop at dollar stores, discount chains, and bulk food sections.
- Look for buy-one-get-one sales on canned goods.
- Repurpose items you already own (backpack for a go-bag, extra blankets, old flashlight).
- Build over time: once you hit $50, add another $10–$20 each paycheck.
The $50 Starter Prep Checklist
Water
- 6+ gallons of water (or 1 case of bottled water)
- Look into a gravity fed system
Food
- Rice or pasta (large bag)
- Canned protein (tuna, chicken, beans)
- Peanut butter or oats
Light & Power
- Flashlight/headlamp
- Extra batteries
- Optional: solar garden lights
First Aid
- Bandages, gauze, antiseptic wipes
- Basic first aid kit
Communication & Info
- Free weather app downloaded or free paper map
- Whistle
- Emergency contacts and important documents printed
- Print favorite recipes, how-tos, etc.
Click here to download this checklist in a pretty downloadable PDF.
Final Thoughts
Preparedness doesn’t have to break the bank. With just $50, you can cover the essentials and start building a foundation for a safer, more resilient future. From here, keep adding little by little, and before long, you’ll have a solid setup without ever feeling overwhelmed.


