Emergency Preparedness
Food Storage Basics: How to Start Without Getting Overwhelmed

Oct
Let’s be honest; food storage can feel intimidating at first.
You see photos of people with shelves stacked to the rafters with cans and buckets, and you think, “I could never do that.” Or maybe, “that looks expensive.”
But here’s the truth: it’s incredibly easy.
Food storage isn’t about hoarding or panic-buying. It’s about creating a safety net — one meal, one can, one shelf at a time. Whether it’s a storm, job loss, or supply chain hiccup, having food on hand means peace of mind.
Let’s simplify it and break it down into small, doable steps.
Step 1: Start With What You Already Eat
Forget fancy freeze-dried meals for now or even just buckets of beans and rice. The best food storage starts with what’s already in your pantry.
- Take inventory of what your family eats regularly.
- Write down meals that use shelf-stable ingredients, or can use shelf stable ingredients, (like pasta, rice, beans, soup, peanut butter, canned veggies).
- Buy a few extras each time you grocery shop.
Tip: Store what you eat, and eat what you store. It’s the easiest way to rotate and avoid waste. Don’t like rice and beans? Don’t stock it. It’s a waste of your time, money and space.
Step 2: Build Toward a 3-Day Supply First
If you’re new to food storage, the idea of a year’s supply can feel impossible. So don’t start there.
Begin with a 3-day supply of food for each person. Once that feels manageable, build to 2 weeks, then 1 month, and so on.
Action: 3 meals × 3 days × each person in your home.
That’s it. That’s your starting line.

Step 3: Focus on Shelf-Stable Foods
Shelf-stable simply means food that lasts a long time without refrigeration.
Here are some of the best starter foods:
Proteins:
- Canned tuna, chicken, beans, or chili
- Peanut butter
- Oats
- Pasta
- Protein powder
- Powdered milk
- High protein pancake mix
Carbs:
- Rice, pasta (it’s both a protein and a carb!), instant potatoes, flour, popcorn, regular pancake mix
Fruits & Veggies:
- Canned fruit (in juice), canned vegetables, freeze-dried fruit and veggies
Extras:
- Spices, condiments, and comfort foods (coffee, chocolate, tea)
Tip: Choose foods that are easy to cook with minimal water or power.
Extra tip: all of this can be accomplished
Step 4: Choose the Right Storage Spot
You don’t need a bunker — just a cool, dry, dark spot.
Good options: a closet, under the bed, a spare cabinet, or even bins stacked in a hallway.
Avoid places with heat and humidity, like garages or attics, since they shorten shelf life.
Bonus Idea: Keep a small “working pantry” (for daily use) and a “long-term pantry” (for backups). Rotate between them. These can both be on metal or wooden shelves, you don’t have to have an actual ‘pantry’, anything you can stock stuff on can become a pantry.

Step 5: Keep It Organized
Organization prevents waste and helps you track what you have.
- Use bins or shelves to group similar items (soups, grains, canned fruit, etc.).
- Practice FIFO — First In, First Out. Use your oldest items first.
- Rotate in your everyday meals and replace as needed during your regular grocery store visit.
Tip: Keep an inventory sheet — even a simple notebook list — so you know when to restock, and it helps to show holes in your preps of what you may need to stock up on more.
Step 6: Add Variety Slowly
Once you’ve built a foundation, start mixing in foods that make meals feel normal and comforting.
- Try different spices or sauces.
- Add baking items (yeast, flour, sugar) for homemade meals.
- Include snacks or treats — morale matters too.
Food Storage Starter Checklist
Get Started
- Take inventory of what you already have.
- Write a list of meals your family eats regularly.
- Start building a 3-day food supply.
Stock These Basics
- Canned protein (tuna, chicken, beans)
- Pasta
- Rice
- Canned fruits and vegetables
- Oats
- Peanut butter
- Comfort foods (coffee, chocolate, tea)
Storage & Rotation
- Practice “First In, First Out.”
- Store in a cool, dry, dark place.
- Update your inventory every few months.
- Rotate food through your everyday eating and replace when needed.

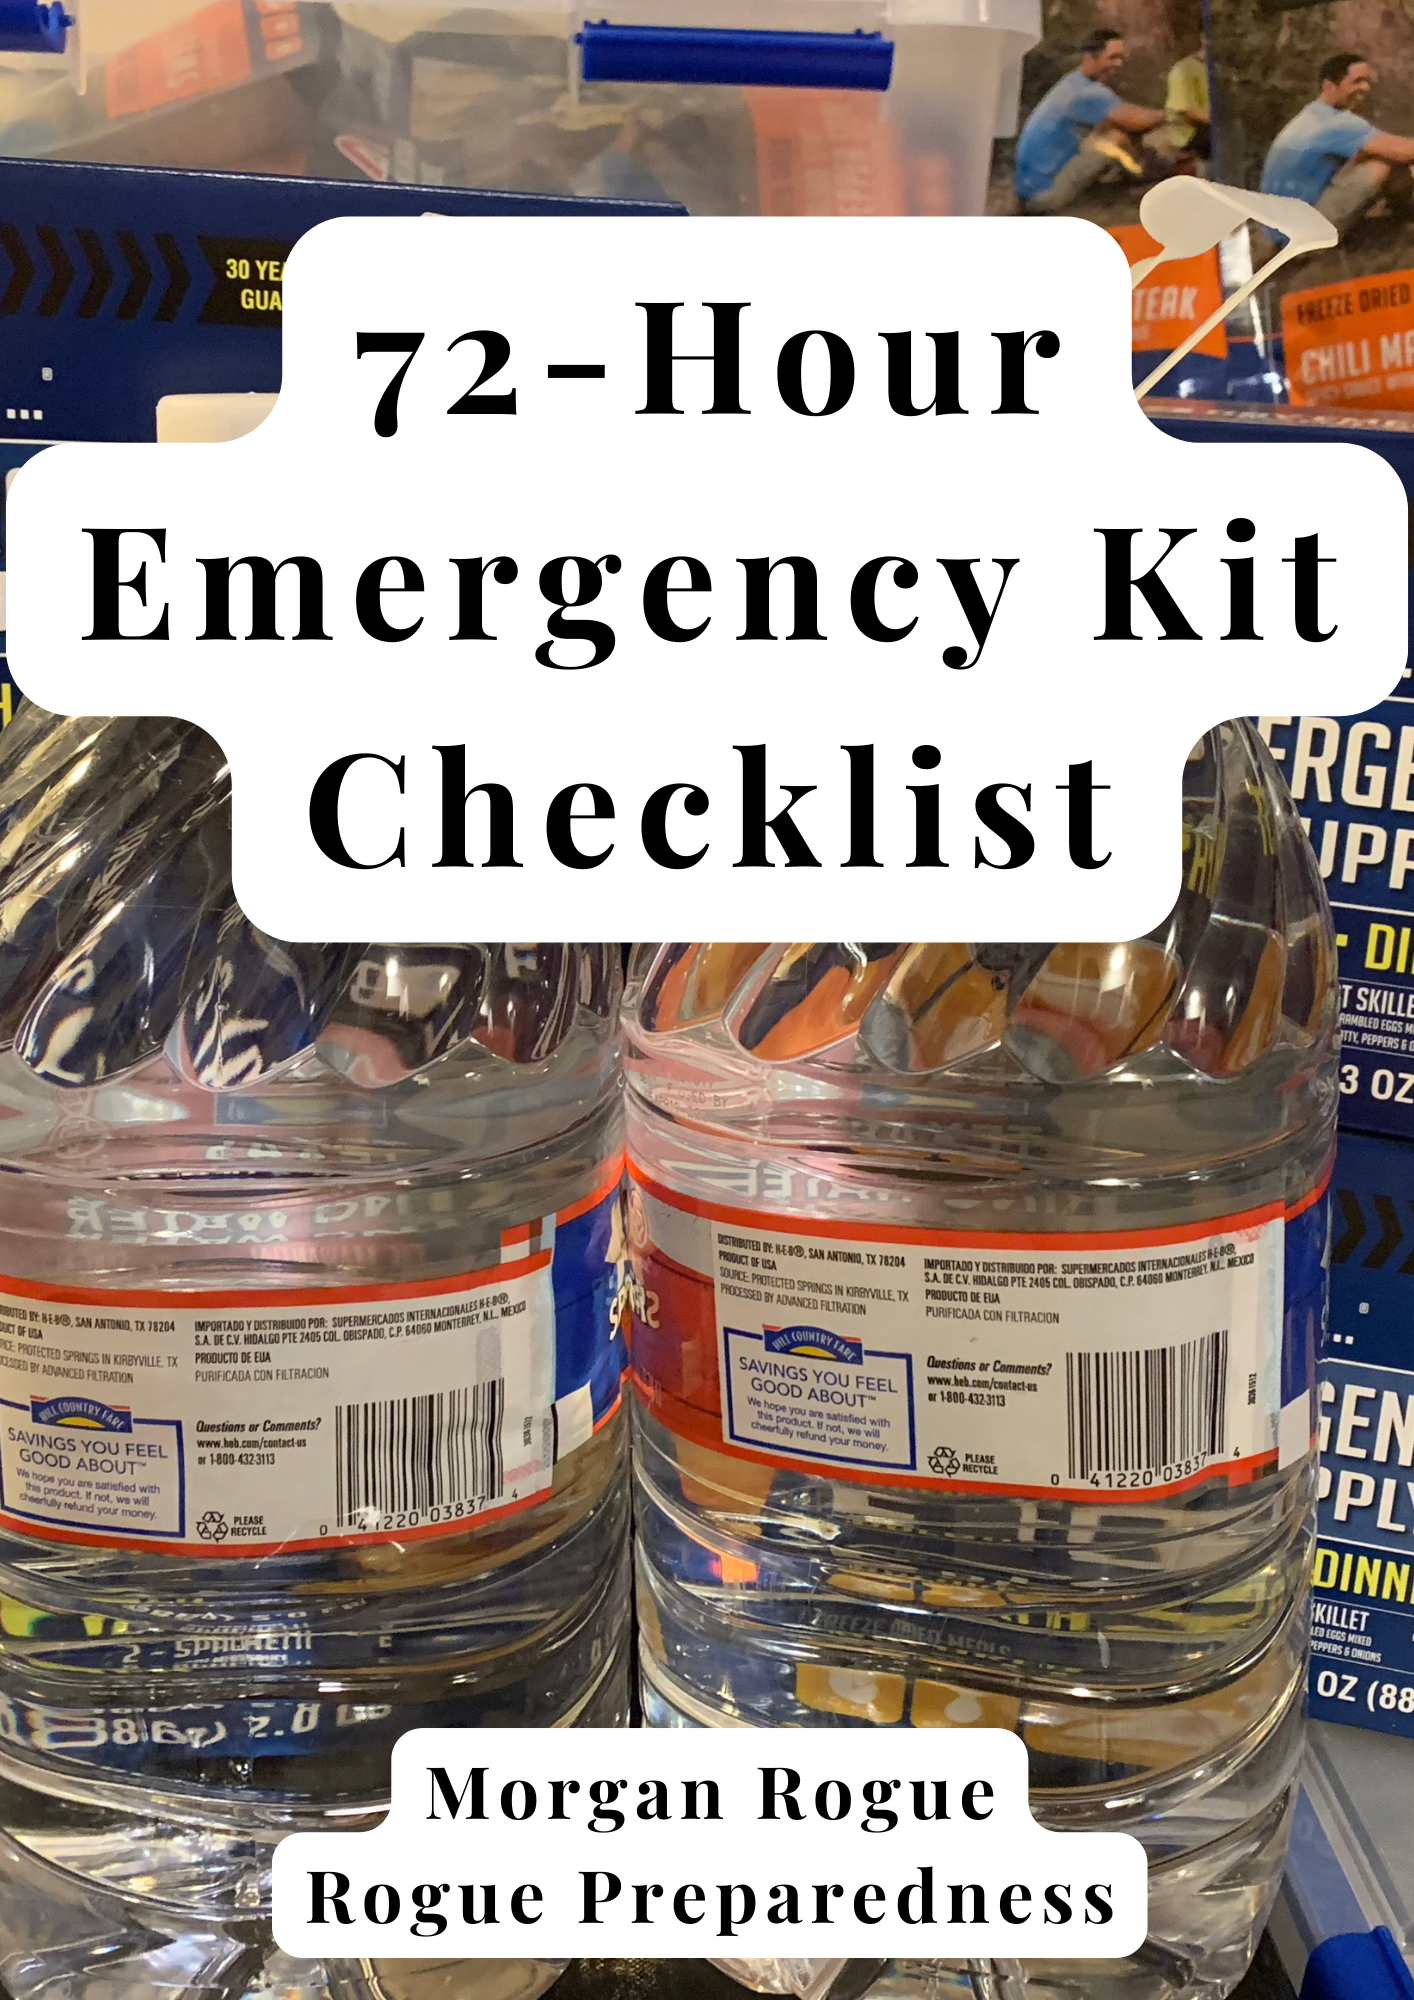
Don’t Forget Water
Food is important, but you can last longer without food than water. Plus, water is used for drinking (also making coffee), hygiene, cleaning and cooking (like you might need for pasta and rice).
You want to aim for 2 gallons of water per person, per day.
Whenever you’re at the grocery store, grab a gallon or two of water as well as the extra food.
Wrap-Up
Even if you only have $20 a week for food and water storage; it all adds up! One day you’re going to look at your shelves and be stunned at how you’ve come.
Preparedness is a lifestyle. Start small, stay consistent, and remember: every can on your shelf is one less thing to worry about when life throws you a curveball.
Action: This week, pick 3 shelf-stable foods your family eats often and buy 2 extra of each. Congratulations — you just started your food storage journey.