Emergency Preparedness
How to Preserve Eggs for Long-Term Food Storage
Jun
Eggs are one of the most nutritious and versatile foods you can store. They’re high in protein, fat, and essential vitamins, and incredibly useful in everyday cooking and baking. Fresh eggs don’t last long. Left on the counter or in the fridge, you’re looking at a few weeks at best.
The good news is that eggs are actually one of the more preservation-friendly foods out there once you know what you’re doing. Whether you’re building a long-term food storage supply, stocking up when prices are low, or just trying to make the most of a backyard flock, there are several reliable methods that can extend your egg supply from weeks to years.
Here’s a rundown of the five best egg preservation methods, how to do each one, and what each is best suited for. Choose the right approach(s) for your situation.
A Quick Note Before You Start
Not all preservation methods work the same way, and a few of them have one important requirement: unwashed eggs with the bloom intact.
The bloom (also called the cuticle) is the natural protective coating that hens apply to eggs as they lay them. It seals the pores of the shell and acts as a natural barrier against bacteria and air. Commercial eggs sold in U.S. grocery stores are washed and sanitized, which removes the bloom and along with it, some of your preservation options.
For methods that rely on the bloom (water glassing and mineral oil coating), you’ll want farm-fresh, unwashed eggs. For methods that don’t depend on it (freezing, dehydrating, freeze drying), store-bought eggs work just fine.
Method 1: Freezing
Freezing is the most accessible egg preservation method for most people because it requires no special equipment, no sourcing challenges, just your freezer and a few minutes of prep.
How to do it: Crack your eggs and beat them lightly, whole eggs together, or yolks and whites separated if you prefer. Pour into an ice cube tray (one egg per slot works well), freeze until solid, then transfer to a labeled freezer bag or airtight container.
If you’re freezing yolks only, add a small pinch of salt or sugar before freezing to prevent them from becoming thick and gummy, this is a texture thing that happens naturally to egg yolks when frozen without it.
Shelf life: 6–12 months in the freezer.
Best for: Scrambled eggs, baking, egg-based sauces, quiche, and general cooking. The texture changes enough that you won’t want to fry a frozen-then-thawed egg, but for anything where eggs are beaten or mixed into a dish, they work great.
Pros: Dead simple, no special supplies needed, works with any eggs.
Cons: Requires consistent freezer access, relatively shorter shelf life compared to other methods, texture changes may turn some off.
Don’t forget, you can use a generator or battery backup to power your fridge during blackouts.
Method 2: Water Glassing
Water glassing is an old-fashioned preservation method that’s earned its place back in the prepper toolkit and for good reason. It requires no electricity, produces eggs that last well over a year, and keeps them remarkably close to fresh.
The method works by submerging eggs in a pickling lime (calcium hydroxide) and water solution, which raises the pH, seals the shell, and creates an environment where bacteria can’t survive.
How to do it: Mix food-grade pickling lime with water in a food-safe container (typically 1 ounce of lime per quart of water and follow the specific ratio on your pickling lime packaging). Submerge clean, unwashed eggs pointy-end down, making sure they’re fully covered by the solution. Seal the container and store in a cool, dark location.
Key requirement: This only works with unwashed eggs that still have their bloom. Farm-fresh eggs are ideal. Most grocery store eggs have been washed and won’t water glass.
Shelf life: Up to 12–18 months at room temperature in cool, dark storage.
Best for: Off-grid storage, anyone without consistent freezer access, and building a true long-term egg supply without electricity. Works well for scrambled eggs and baking; the egg whites can become slightly watery over time, making them less ideal for frying.
Pros: No electricity needed, long shelf life, eggs stay very close to fresh quality, inexpensive setup.
Cons: Requires unwashed/bloom-intact eggs, takes up physical storage space (jars of liquid), eggs need to stay submerged.
Method 3: Mineral Oil Coating
Mineral oil coating is a simpler, lower-commitment alternative to water glassing that’s great for short-to-medium term storage. Instead of submerging eggs in a solution, you’re manually recreating the bloom by coating each egg in a thin layer of food-grade mineral oil.
How to do it: Warm food-grade mineral oil slightly (just enough to thin it out a little), then rub a thin coat over the entire surface of each egg by hand. Store in a cool, dark place. Some sources recommend turning the eggs periodically to keep the yolk centered and prevent it from sticking to the membrane.
This method can work with store-bought eggs, since you’re adding a protective layer rather than relying on the existing one.
Shelf life: 3–6 months at room temperature in cool, dark storage; longer if refrigerated.
Best for: Anyone wanting a straightforward, low-effort preservation method that doesn’t require any specialized equipment or sourcing. A solid option for building a rolling egg supply when prices are good.
Pros: Simple, inexpensive, works with store-bought eggs, no containers of liquid needed.
Cons: Shorter shelf life than water glassing or dehydrating, requires touching and coating each egg individually, shelf life varies based on storage temperature.
Method 4: Dehydrating
Dehydrating eggs turns them into an egg powder that stores for years and rehydrates for cooking and baking. It’s one of the most practical long-term options, especially if you already own a food dehydrator.
How to do it: Scramble your eggs and cook them fully before dehydrating, this is a food safety step. Some have said they dehydrate raw eggs, but personally, I wouldn’t, just for safety reasons. But, you do what you feel is best. I am going to recommend the safest option.
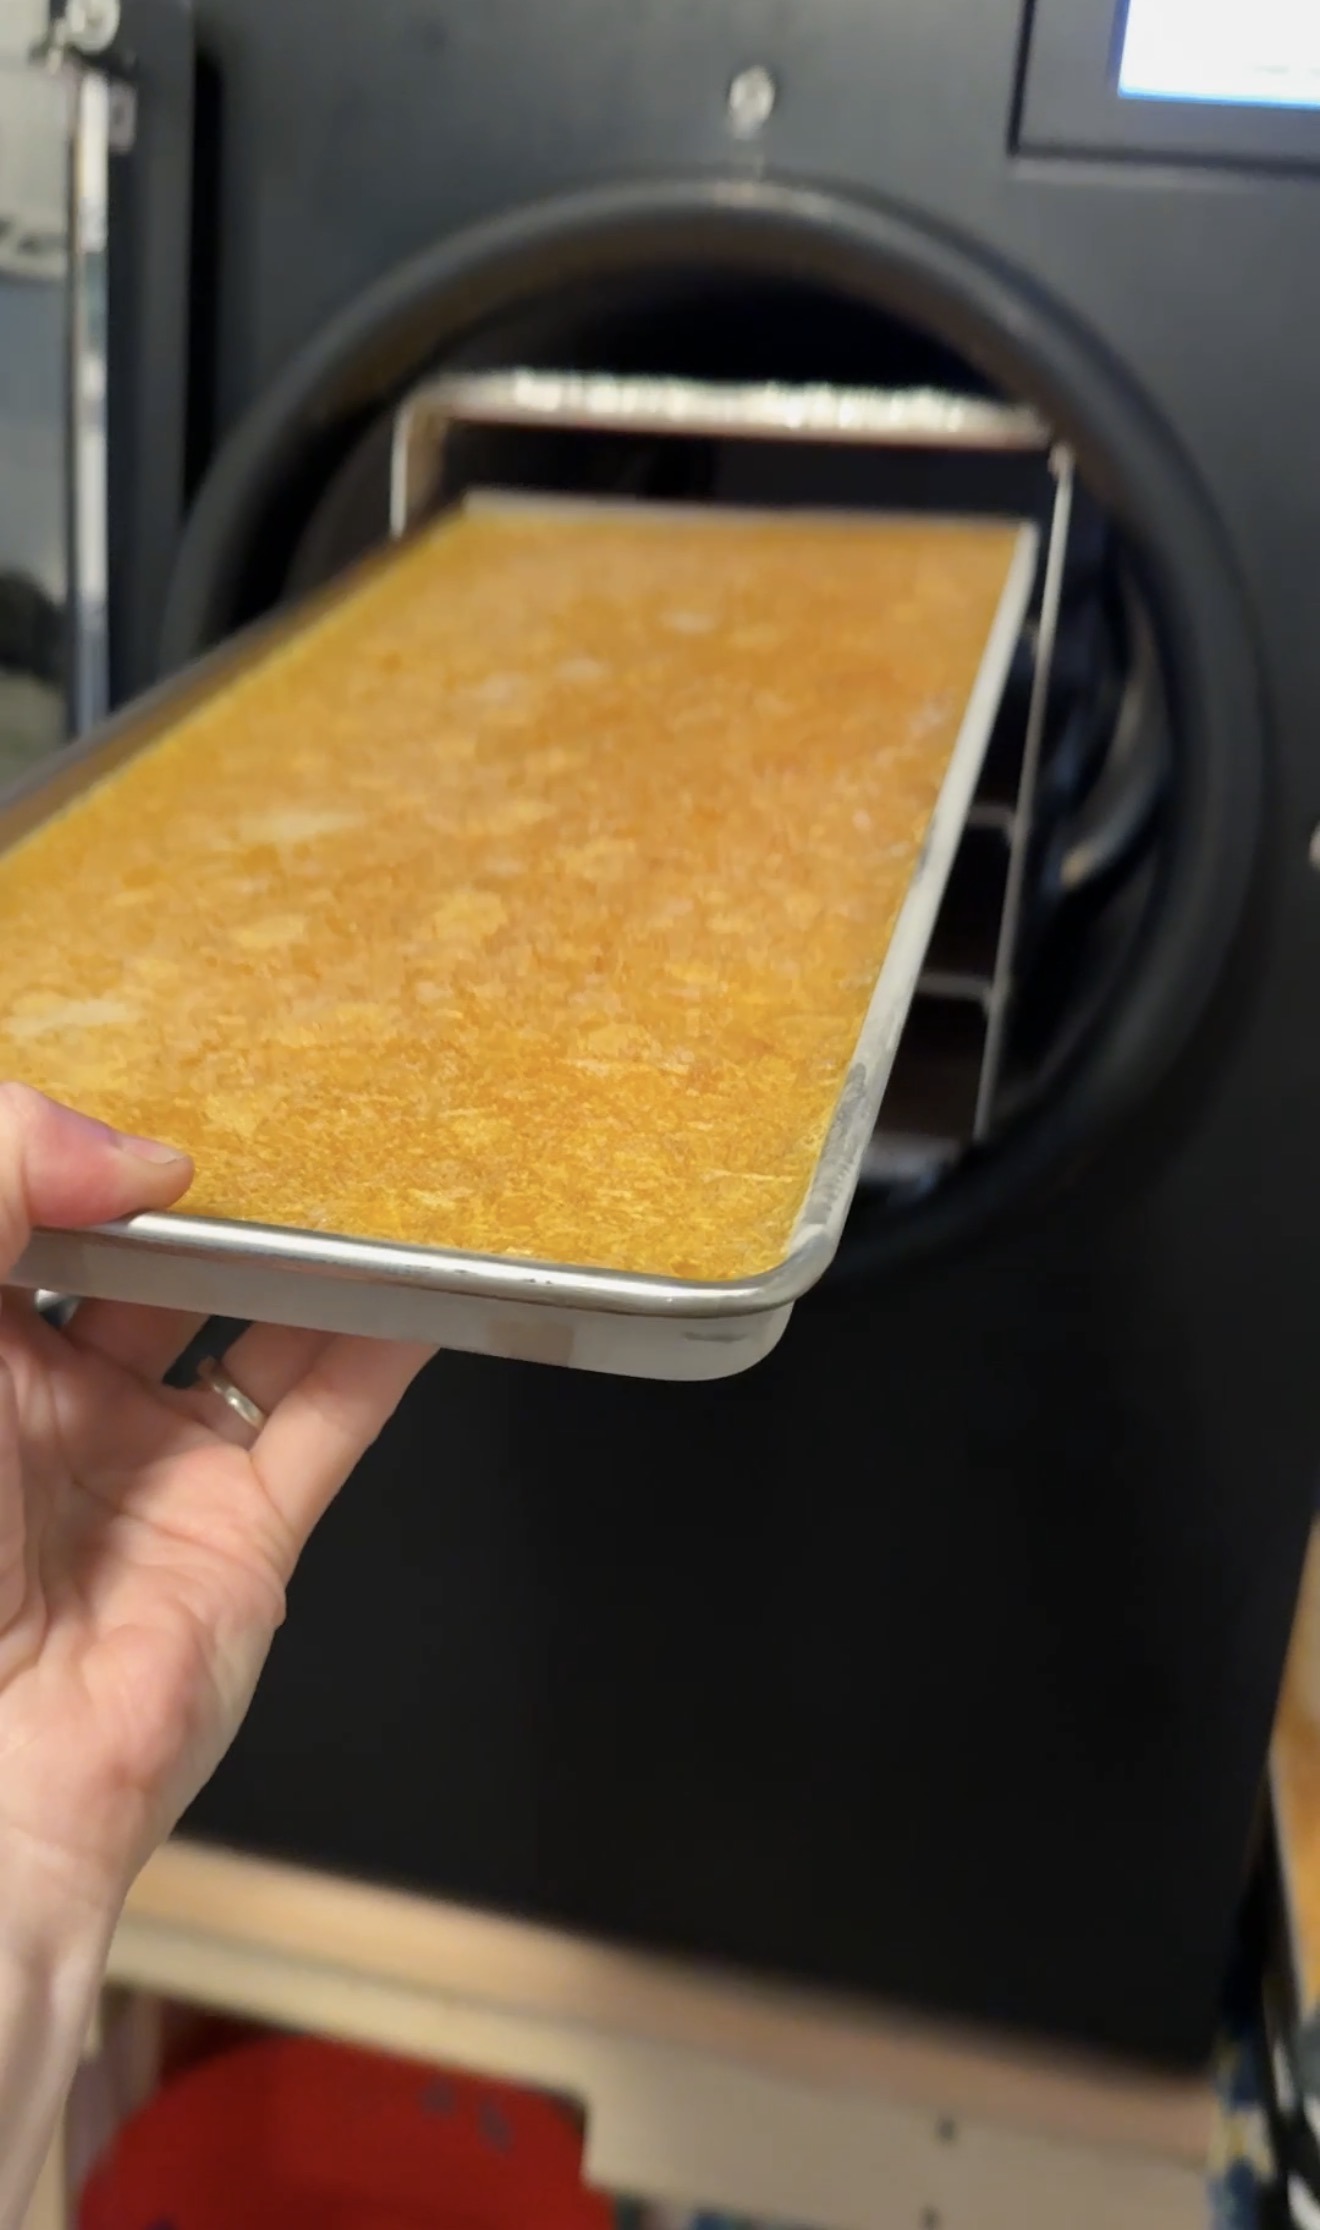
Spread the cooked egg thinly across dehydrator trays and dry at 145°F until the egg is completely dry and crumbly (this can take several hours). Once fully dried, grind into a fine powder using a blender or food processor, make sure they aren’t hot, as this will create moisture, you may need to let them cool for a bit. Then pack into airtight containers, mason jars with oxygen absorbers work well, or mylar bags heat sealed with oxygen absorbers for the longest shelf life.
Shelf life: 5–10 years when stored in a sealed, airtight container with an oxygen absorber in a cool, dark location.
Best for: Long-term food storage, baking, scrambled eggs, and any recipe where eggs are beaten and mixed in. Not ideal for dishes where egg texture is the star.
Pros: Very long shelf life, lightweight and compact storage, great for baking and cooking.
Cons: Requires a food dehydrator and extra processing time, texture after rehydrating isn’t as close to fresh as other methods, cooking first is required for safety.
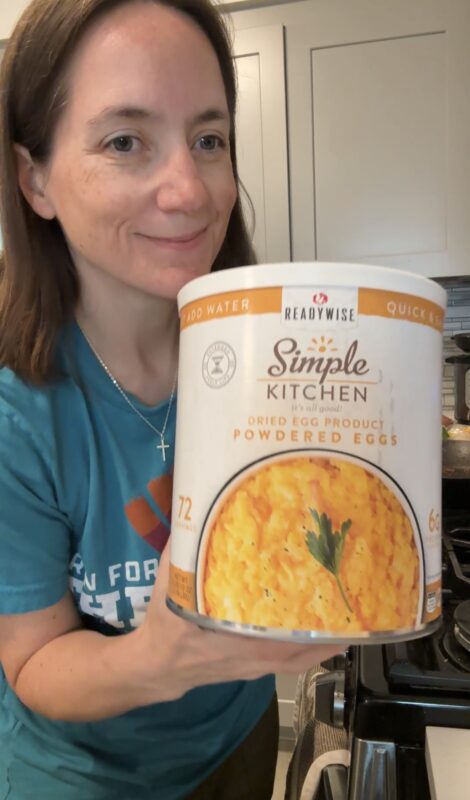
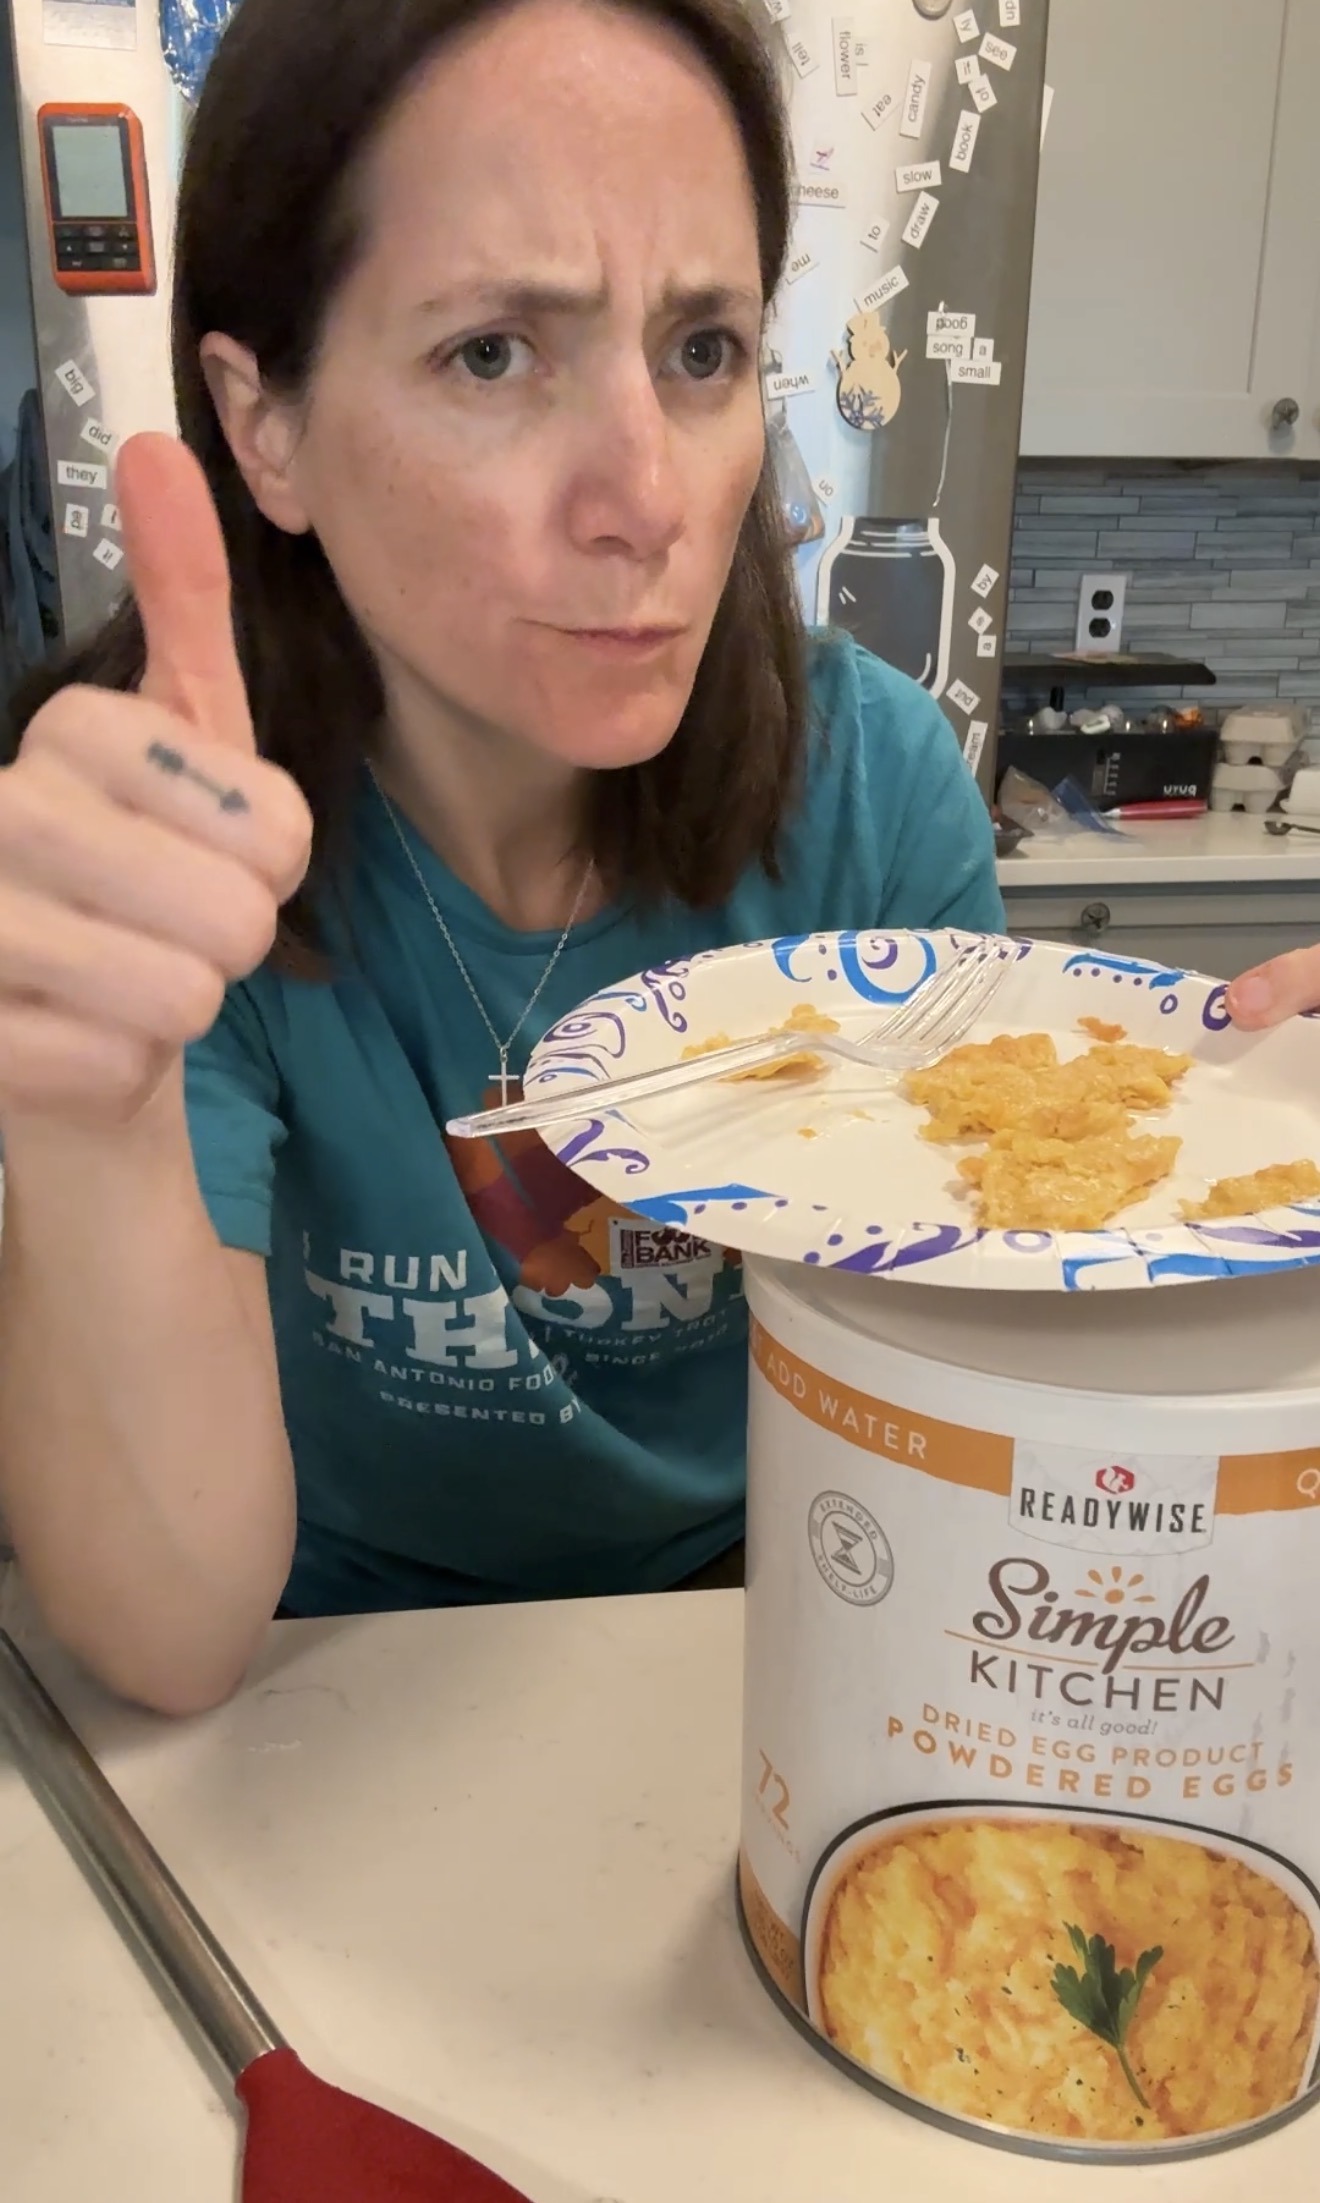
Worth noting: If you don’t want to dehydrate your own, commercially produced powdered eggs are another option and stocking up on commercial egg powder when fresh egg prices are low is a strategy many preppers use to cover both short and long-term needs.
Method 5: Freeze Drying
Freeze drying is the gold standard for egg preservation as it produces the closest-to-fresh result after rehydration, and the shelf life is exceptional. If you have a home freeze dryer (or access to one), eggs are one of the best things to run through it.
How to do it: Cooked or raw – both work. Pour into freeze dryer trays, and run a full cycle (I like to add 24 hours of extra dry time to all of my batches to ensure they’re dry). I can get about 4 cups of raw eggs onto each of my trays (I have a medium Harvest Right freeze dryer). Once the cycle is complete, break the dried egg into pieces and grind into powder (or pack it into pieces, it’ll grind itself or, or you can grind it later). Pack immediately into mylar bags with oxygen absorbers and heat seal.
Shelf life: 25+ years when properly sealed in mylar with oxygen absorbers.
Best for: The highest quality, longest-lasting egg storage available. Rehydrated freeze-dried eggs are noticeably better in texture and flavor than dehydrated eggs, and they rehydrate quickly for use in almost any recipe.
Pros: Exceptional shelf life, best texture and quality after rehydration, preserves nutrients very well.
Cons: Freeze dryers are a significant investment, cycle times are long (24+ hours per batch), requires mylar (or jars) and oxygen absorbers for proper storage.
No freeze dryer? Commercially freeze-dried eggs are widely available from food storage companies and are an excellent alternative. Many people build their storage with a combination of home-preserved eggs for the short-to-medium term and commercially freeze-dried eggs as their long-term baseline.
Comparison at a Glance
| Method | Shelf Life | Requires Bloom-Intact Eggs? | Equipment Needed |
|---|---|---|---|
| Freezing | 6–12 months | No | Freezer, ice cube tray |
| Water Glassing | 12–18 months | Yes | Pickling lime, food-safe container |
| Mineral Oil | 3–6 months | Preferred | Food-grade mineral oil |
| Dehydrating | 5–10 years | No | Food dehydrator, airtight containers |
| Freeze Drying | 25+ years | No | Freeze dryer, mylar bags |
Tips That Apply to All Methods
A few universal rules regardless of which method you choose:
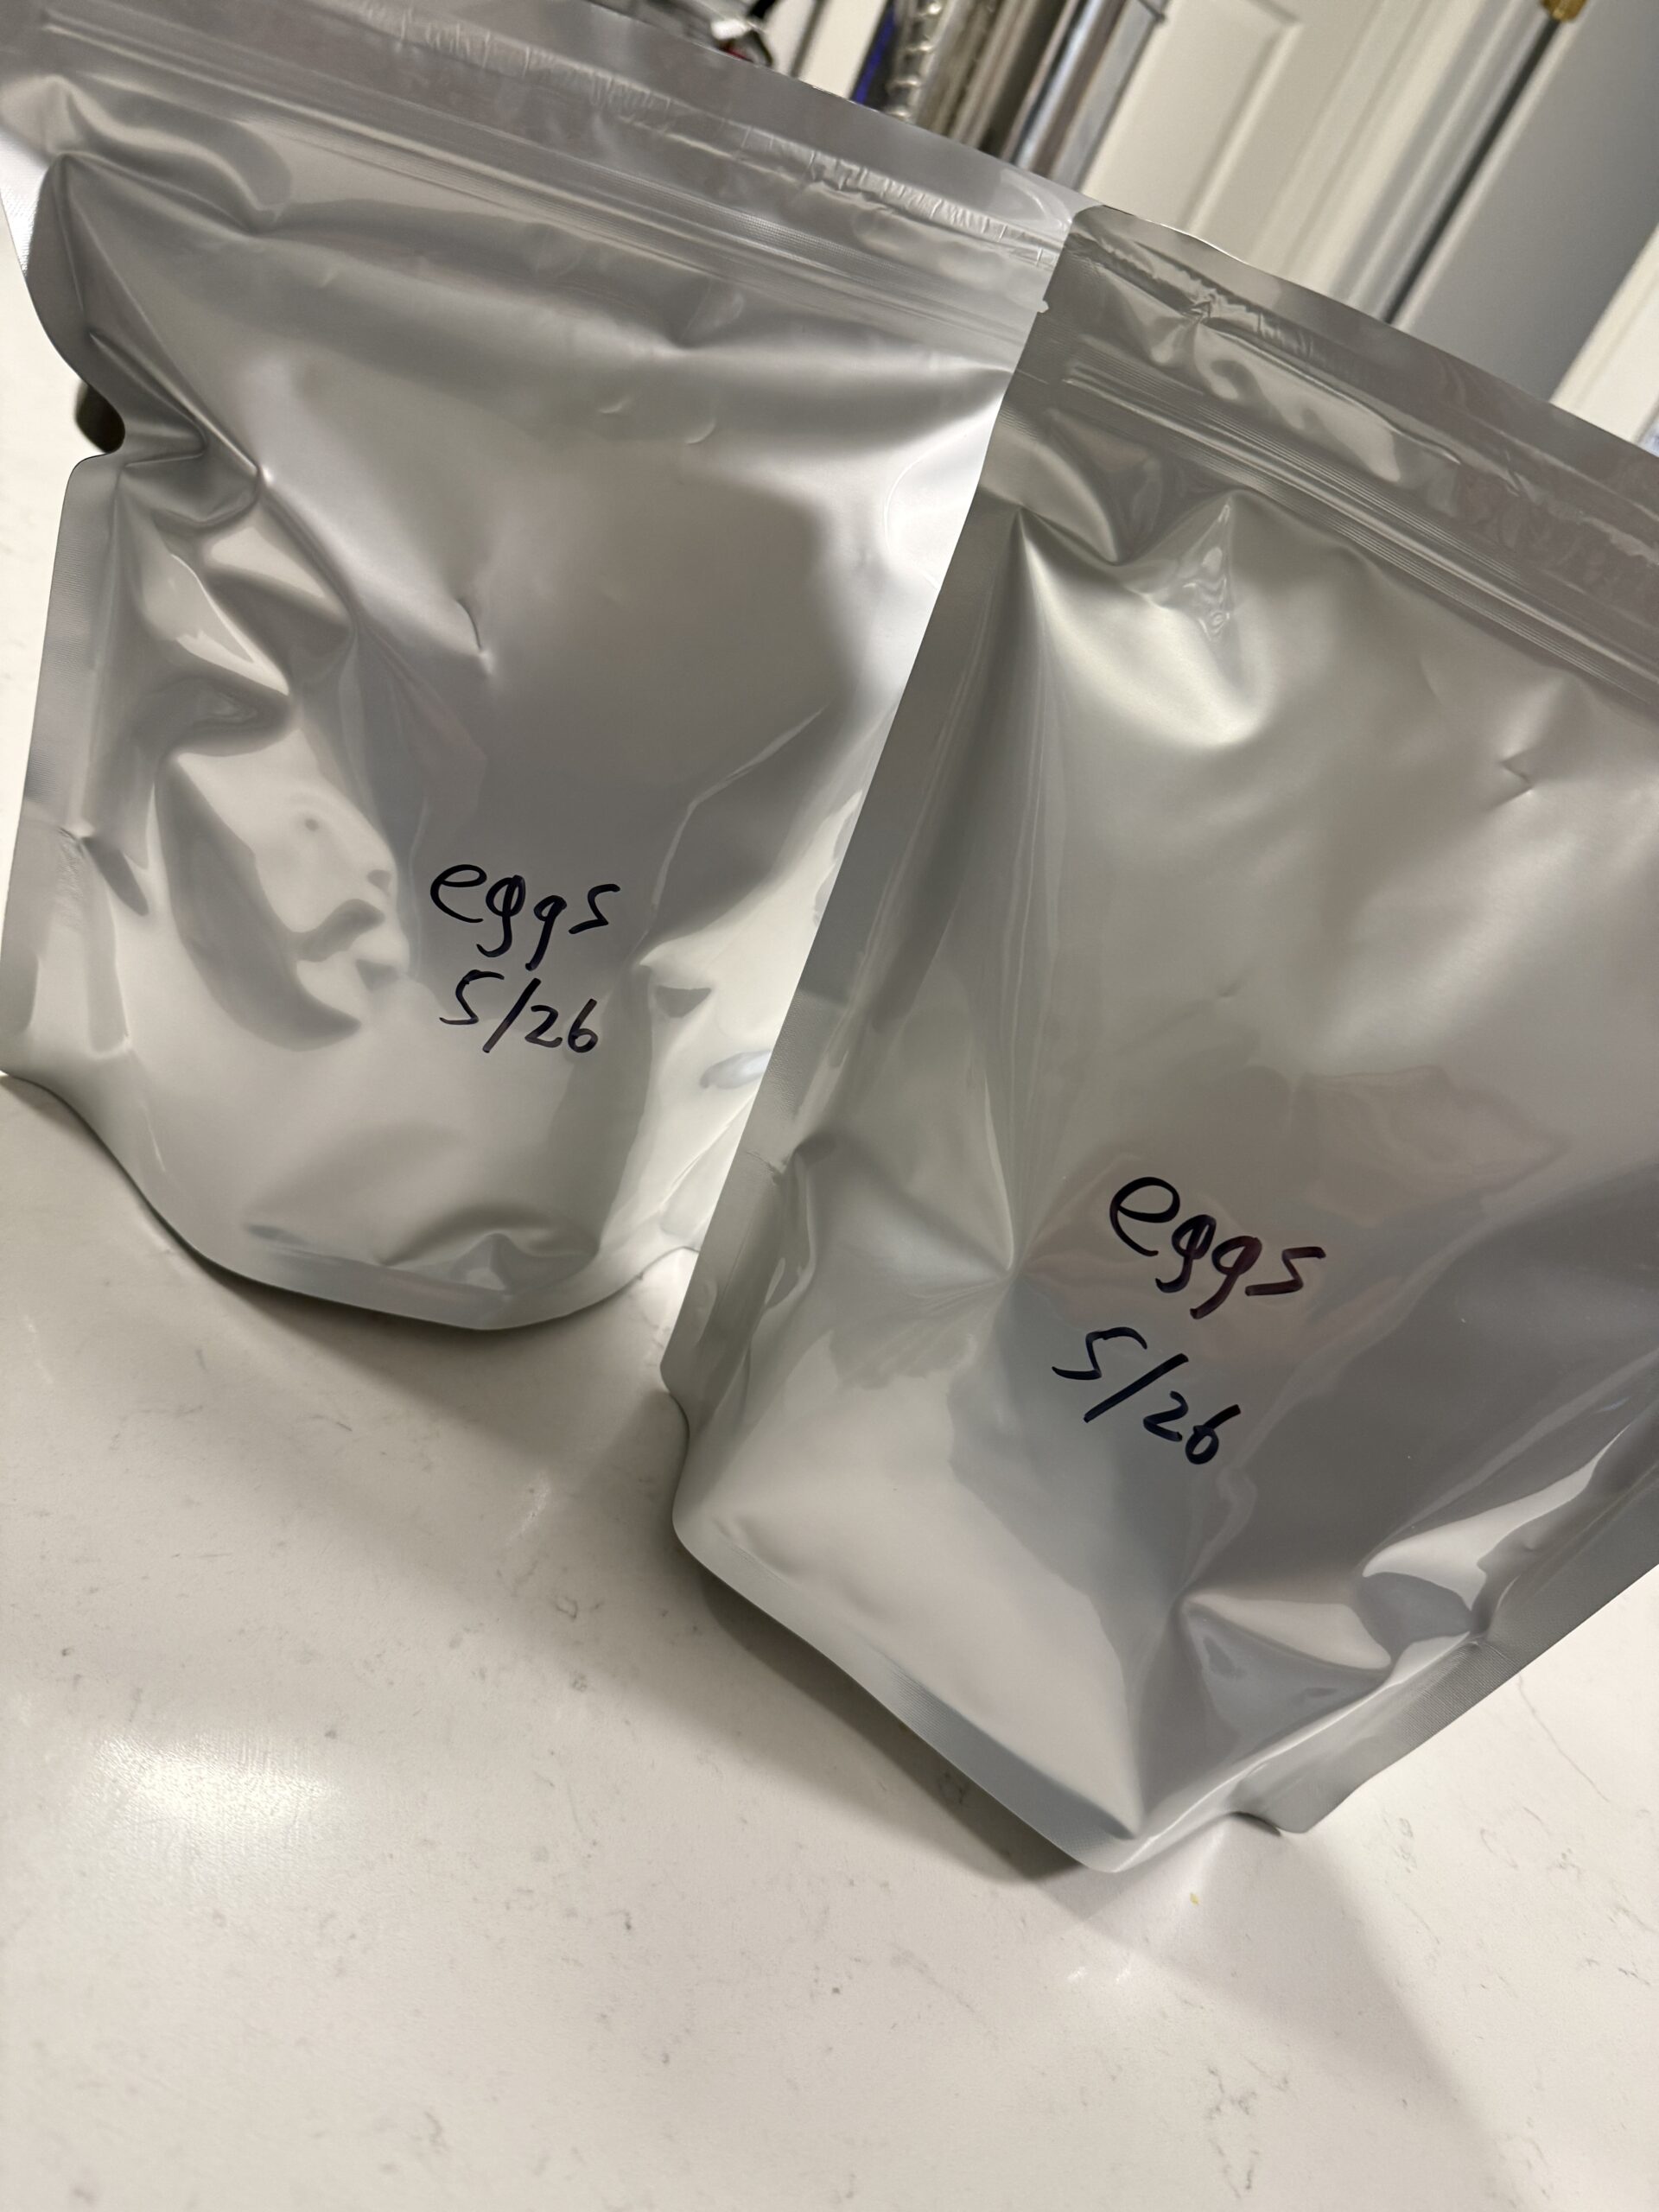
- Label everything. Write what it is and the date it was preserved on every container. You want to know what to use first.
- Rotate your supply. Use oldest stock first. Replenish behind it. This keeps your storage fresh and your investment from going to waste.
- Store in cool, dark locations. Heat and light degrade preserved food faster. A pantry, basement, or interior closet beats a garage in summer every time. Even if it’s in mylar, cool and dark are safe bets.
- Use oxygen absorbers for powders. For dehydrated and freeze-dried egg powder, an oxygen absorber inside a heat sealed mylar bag or vacuum sealed mason jar are the best options.
- Start with what makes sense for your situation. If you’re new to food storage, freezing is the easiest entry point. As your setup grows, you can layer in longer-term methods.
The Bottom Line
Eggs are a preparedness staple for good reason. They’re nutritious, versatile, and with the right preservation method, they can last far longer than most people realize. You don’t need to use every method on this list. Pick one or two that fit your current setup, your storage space, and your budget, and build from there.
The key is simply not letting a great food source be limited by a short expiration date.
Building out your food storage? Check out PackFresh for long-term storage mylar bags and oxygen absorbers – use code ROGUE at checkout.